Planning surface
First step was to draw a line on the foam where the inside of the plane surfaces will go to. I changed this slightly from the plans so there is no 1.5 inch step between the ply and the foam. This will make fiberglassing a lot easier and save a fraction of weight.

So to get a good curved line 431mm from the outside skirt attach strip I made this.


This made the line quite accurate. I also used it to mark where the ply was to sit and also for the inside skirt attach strip distance of 12 inches. Next step was to place a sheet of 2 inch foam 12 inches from the rear and mark the curve of the outside edge of the craft as this will give me the curve for the planning surfaces. I cut out using a hand saw.
Once cut I screwed it into place and finished the curve using a belt sander following the outside skirt attach strips. This was repeated with another sheet towards the front and on the opposite side.

Next I marked the same 431mm line giving the second curved line to cut.

Next was to cut the ply strips. I just used a similar method as above.

Once all peices were cut to shape and sanded, it was back into the vacuum bag for the last time. Sadly the bag would not seal no matter what I did as I only got 5kg on the scale so I put as much weight on as I could and hoped for the best. In multiple places it did not stick to well but when I glass the joints I'll push glue into those places.
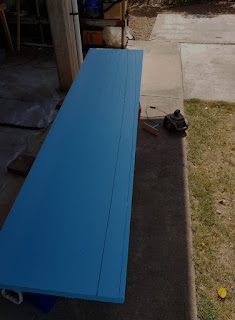
Next was to shape the planning surface. I used my homemade foam cutter for this


So to get a good curved line 431mm from the outside skirt attach strip I made this.


This made the line quite accurate. I also used it to mark where the ply was to sit and also for the inside skirt attach strip distance of 12 inches. Next step was to place a sheet of 2 inch foam 12 inches from the rear and mark the curve of the outside edge of the craft as this will give me the curve for the planning surfaces. I cut out using a hand saw.

Once cut I screwed it into place and finished the curve using a belt sander following the outside skirt attach strips. This was repeated with another sheet towards the front and on the opposite side.

Next I marked the same 431mm line giving the second curved line to cut.

Next was to cut the ply strips. I just used a similar method as above.

Once all peices were cut to shape and sanded, it was back into the vacuum bag for the last time. Sadly the bag would not seal no matter what I did as I only got 5kg on the scale so I put as much weight on as I could and hoped for the best. In multiple places it did not stick to well but when I glass the joints I'll push glue into those places.
Next was to shape the planning surface. I used my homemade foam cutter for this

Comments
Post a Comment